How to Use a Canon Rebel T3 Camera: A Beginner’s Guide to Beautiful Photos
How to Use a Canon Rebel T3 Camera: A Beginner’s Guide to Beautiful Photos
If you’re just getting started with photography and learning how to use a Canon Rebel T3, you’ve chosen one of the best beginner DSLRs out there. This compact camera may look simple, but it’s powerful, dependable, and capable of creating professional-quality images once you know how to use it.
Whether you’re photographing your family, your farm, or your latest creative project, the secret to great photos is understanding how your camera “sees” light. Here’s how to start capturing beautiful, intentional images — even if you’ve never shot in manual mode before.
1. Get to Know Your Canon Rebel T3
Before you start shooting, take a few minutes to familiarize yourself with your camera’s layout and settings.
Mode Dial: This is how you switch between full Auto, semi-manual (Av, Tv), and full Manual (M) modes.
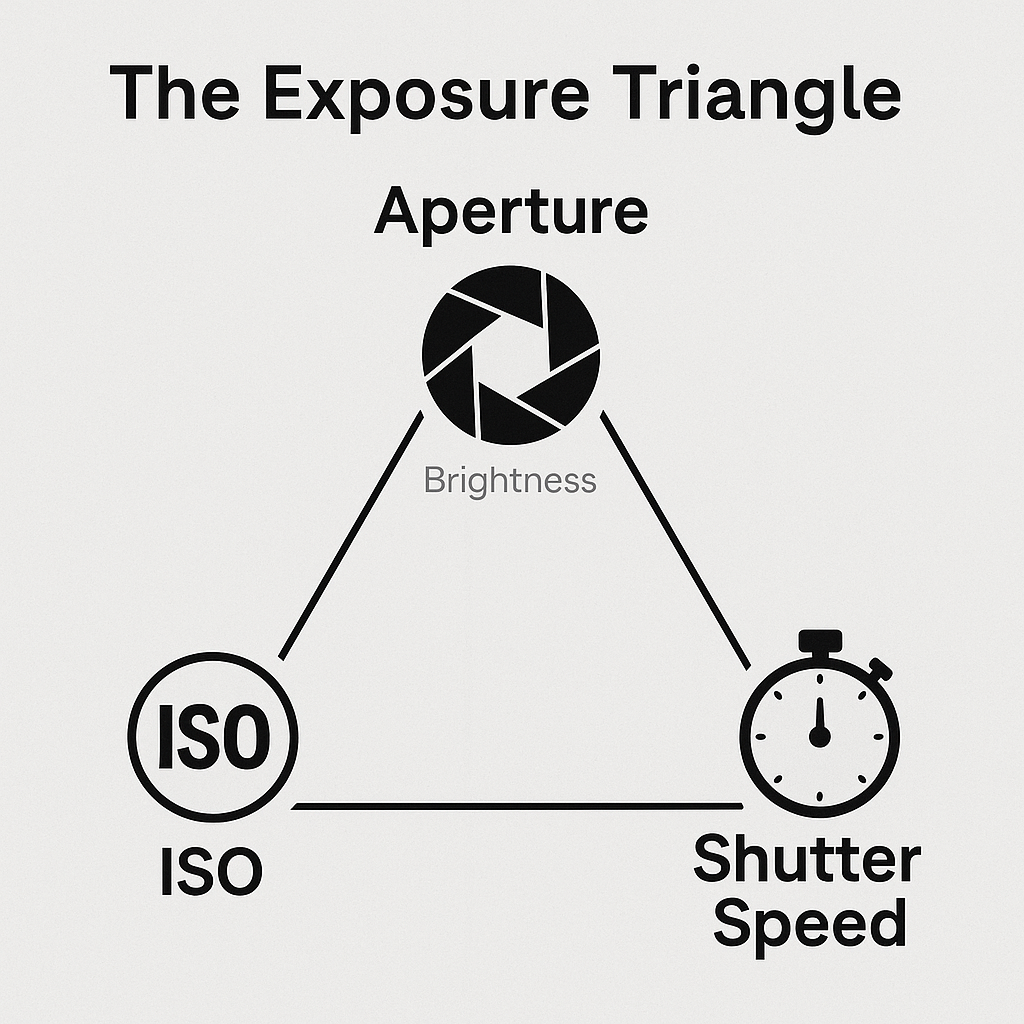
ISO, Shutter Speed, and Aperture: These three settings make up the exposure triangle — they control how bright or dark your photo appears.
Viewfinder vs. Live View: The viewfinder gives you sharper focus and longer battery life, while Live View lets you compose right on the screen.
💡 Pro Tip: Download your camera’s manual online. Even experienced photographers use it as a reference guide!
2. Master the Exposure Triangle
These three settings control how light interacts with your image:
ISO – Adjusts how sensitive your camera is to light. Use ISO 100–400 in bright daylight, and higher ISOs (800–1600+) indoors or in low light.
Aperture (f-stop) – Controls how much light enters through the lens. Lower f-numbers (like f/2.8) create a soft, blurry background — perfect for portraits.
Shutter Speed – Determines how long your camera’s sensor is exposed to light. Fast speeds (1/500) freeze action, while slower speeds (1/60 or below) let in more light but may add blur.
Try shooting the same subject while changing just one setting. You’ll quickly see how each one affects the overall look and feel of your photo.
3. Use Natural Light to Your Advantage
Your Canon Rebel T3 shines in natural light.
Shoot outdoors during golden hour (the first or last hour of sunlight) for that warm, glowy look.
Indoors? Position your subject near a big window with soft light.
Avoid harsh midday sunlight; find open shade for more even tones.
Light makes or breaks your photo — learning to “see” light is one of the most important photography skills you can develop.
4. Focus and Composition
Nailing focus and composition instantly elevates your images.
Set your focus mode to One Shot AF for still subjects, or AI Servo for moving ones.
Follow the Rule of Thirds — keep your subject slightly off-center to create balance and flow.
Experiment with angles: crouch, move closer, or shoot from above to add interest.
📸 Quick Tip: Always take multiple shots from slightly different angles. Variety gives you options when editing later.
5. Start with Aperture Priority (Av) Mode
If you’re nervous about full manual mode, start in Aperture Priority (Av) mode.
You control the aperture, and the camera chooses the shutter speed automatically.
This is the best way to learn how aperture affects brightness and background blur — while still letting your camera handle exposure balance.
6. Practice Often and Review Your Work
Consistency builds confidence.
Shoot every day or every weekend. Photograph your pets, flowers, or everyday moments.
Then look back at your images:
Which settings gave you the results you love?
Where could you adjust lighting or focus?
What happens when you shoot from a different angle or change your f-stop?
Every photo is a mini-lesson that improves your eye and your skill.
7. Learn to Edit
Even the best photo can be enhanced with a little editing.
Use Lightroom or Photoshop to fine-tune your exposure, color balance, and sharpness.
Editing lets you bring out the beauty your camera captured and develop your own creative style.
Final Thoughts
Your Canon Rebel T3 may be an entry-level DSLR, but it’s a powerful storytelling tool when you know how to use it.
Don’t worry about perfection — focus on progress. Each image you take brings you closer to mastering your craft.
So grab your camera, step outside, and start capturing your world. The best way to learn photography… is to start shooting.
What Is the Exposure Triangle?
The Exposure Triangle is the foundation of photography. It represents the three main camera settings that work together to control how light is captured in your photo:
Aperture (f-stop): Controls how wide your lens opens. A wider opening (lower number like f/2.8) lets in more light and creates a blurred background.
Shutter Speed: Controls how long your camera’s sensor is exposed to light. Faster speeds (like 1/500) freeze motion; slower speeds (like 1/30) let in more light but can blur movement.
ISO: Controls your camera’s sensitivity to light. Lower ISO (100–400) gives clean, sharp images; higher ISO (800–3200+) brightens dark scenes but adds grain.
When you change one side of the triangle, you must adjust the others to keep your exposure balanced — that’s what gives your photos perfect brightness and creative control.
